AtHoc APIs are now new and improved, with AtHoc API V2. Sending and managing alerts have become much easier through the help of powerful REST APIs.
Before you actually write any code, there are a few preliminary steps you need to take. These steps can be found under the “Set up your environment section” of the quick start guide located here. Make sure you follow all the three steps.
Note 1: Be aware that you will not be able to enable your API application without being a System Administrator. You can contact a System Administrator to enable your application for you.
Note 2: You may choose to authorize the application using an implicit grant (this is recommended over password grant). Put <your-app-package>:// as the redirect URI (eg. com.example.athoctest://)
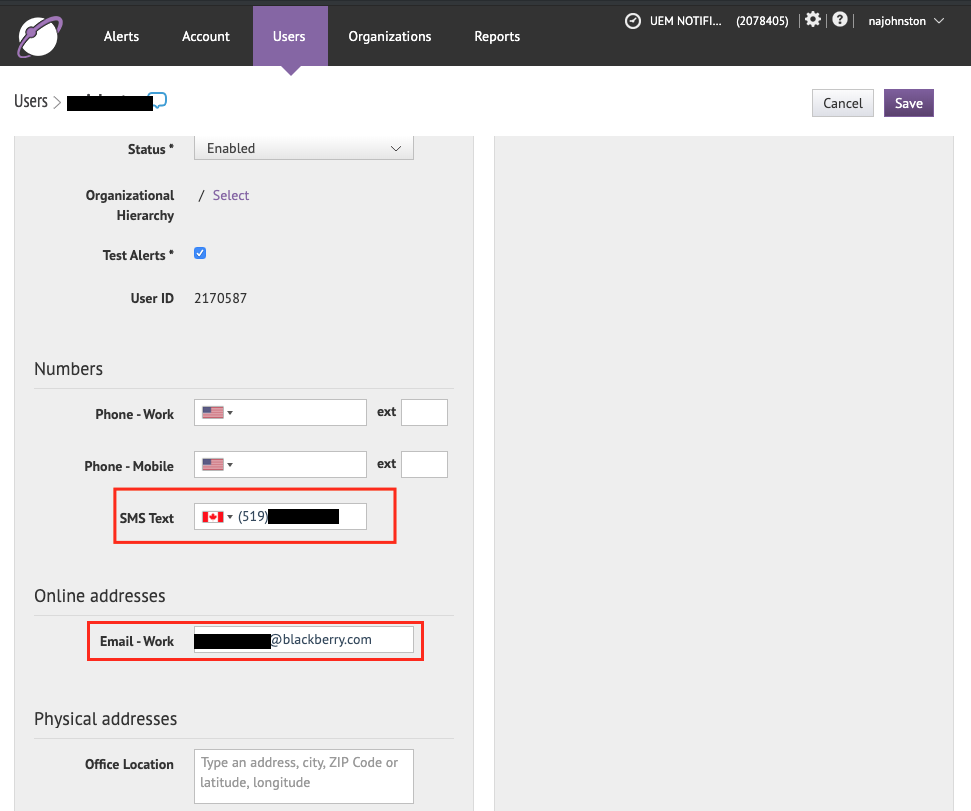
You’re also going to need to set up an alert template and add a device or two to your user if you want to see your alerts being published.
1. Login to the AtHoc management system
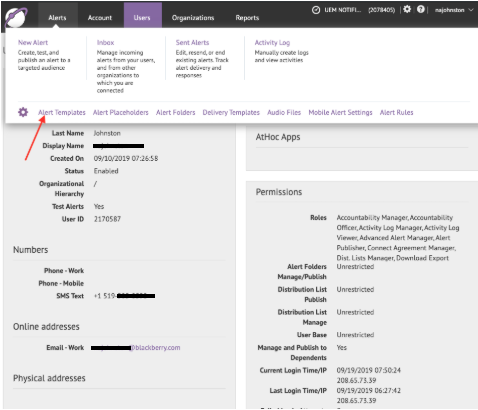
2. Go to the Users page and click on your user
3. Click on edit user and put your phone number under SMS Text or your email under Email