Setup RichChat Spark SDK for Web in 7 Steps

1. Getting a Developer Account
Log into your developer.blackberry.com account. If you don’t have an account yet, you can create one here.
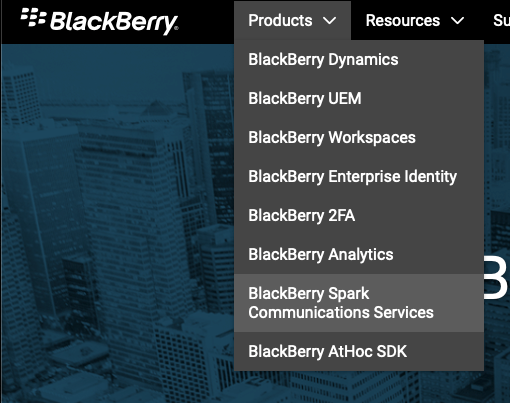
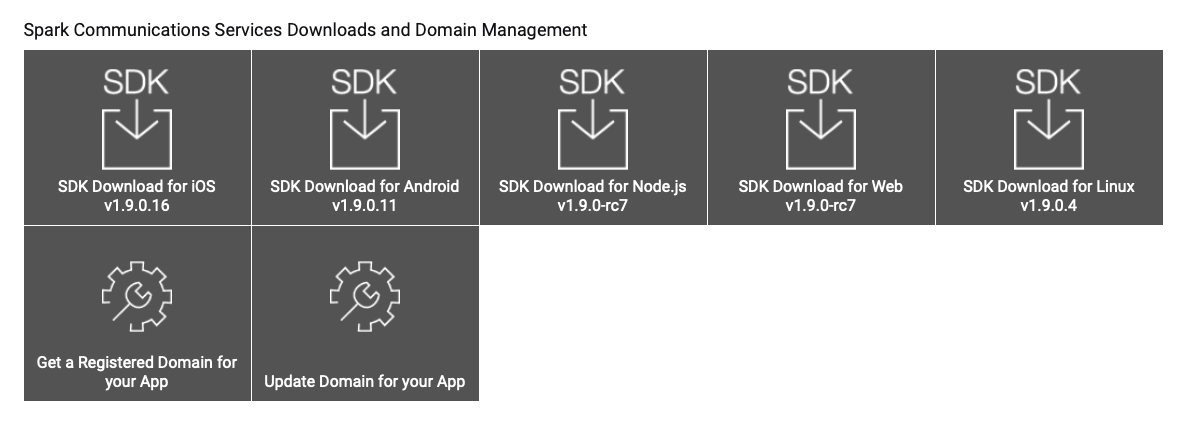
2. Download The SDK Bundle (2)
3. Un-Tar the Tar
Open your terminal, locate your download, and execute the following command to unwrap the tar file.
tar -xvzf blackberry-spark-communications-services-sdk-web-1.9.0-rc7.tar.gz
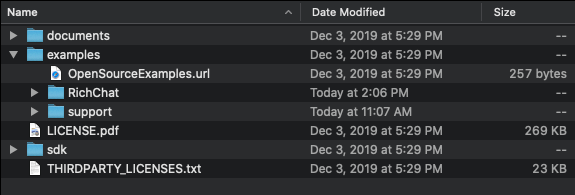
The SDK Bundle’s Structure
The resulting folder will contain the following directories.
- /
- documents/
- documentation of the SDK
- examples/
- RichChat/
- An implementation of the SDK using the Support Library
- Support/
- Files that the implementation depends on
- RichChat/
- sdk/
- The BlackBerry Spark SDK for JavaScript. It is being imported by the RichChat example, and it can also be imported into your existing projects.
- documents/
4. Downloading / Connecting Dependecies
You will need to install the package manger called yarn. You can learn how to install Yarn here.
Once you have yarn installed execute:
cd /examples/RichChat
and
yarn install
This will download all dependencies required to run RichChat, as well as connect the RichChat sample to its support resources in /examples/Support
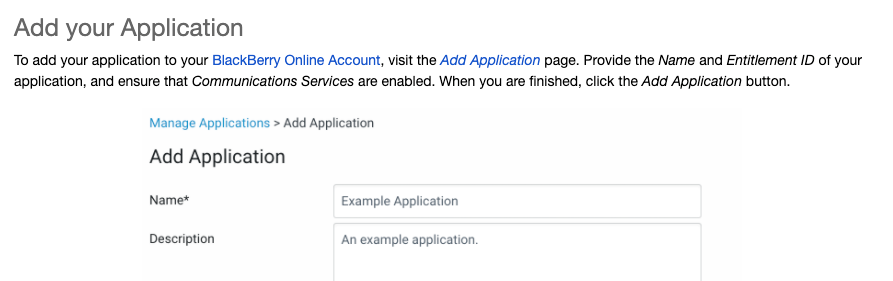
5. Acquiring and Configuring a Domain for your Application
You can acquire a domain by following the guide here, starting with “Add you application”

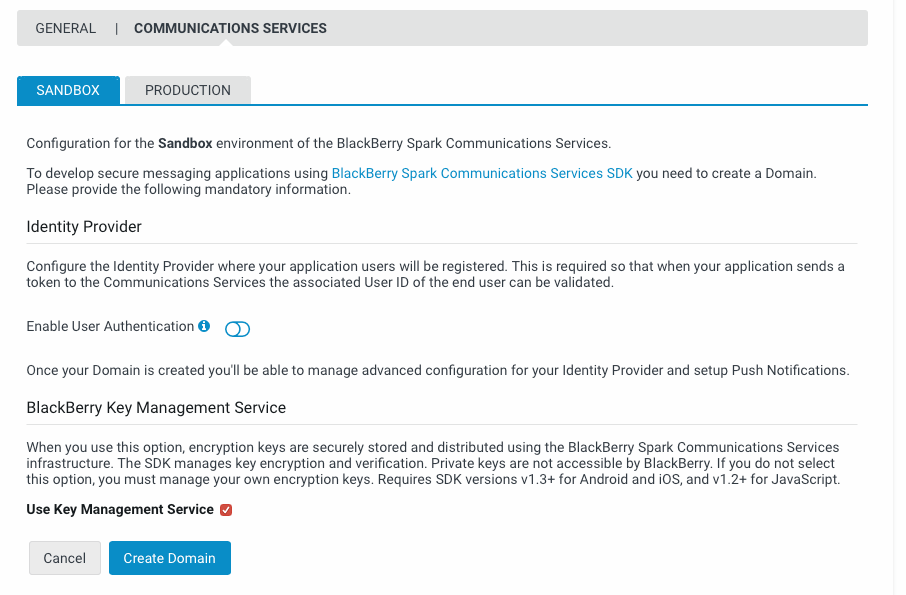
Select Create Domain.
Ensure the settings such that they match this screenshot.
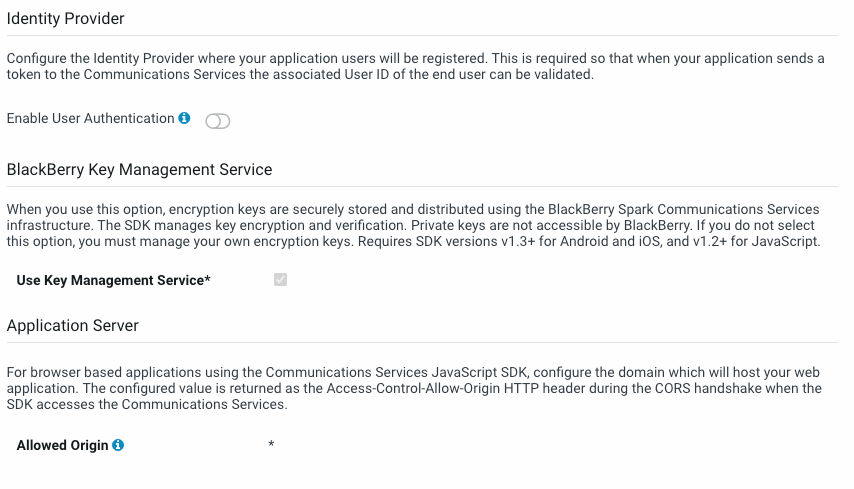
- We keep “Enable User Authentication” because this is a test environment,
- we use BlackBerry’s Key Management Service – but you can always switch to Google or Azure –
- Origin as wildcard to ensure that any return address is allowed, in this case the origin will be localhost:8000, but wildcard will encompass that. Read more about Cross-Origin Resource Sharing which is important when you deploy to production and for security.
6. Copying your Domain to RichChat
Now that your domain’s settings are configured and saved, copy your domain at the top of the “Communication Services” page.
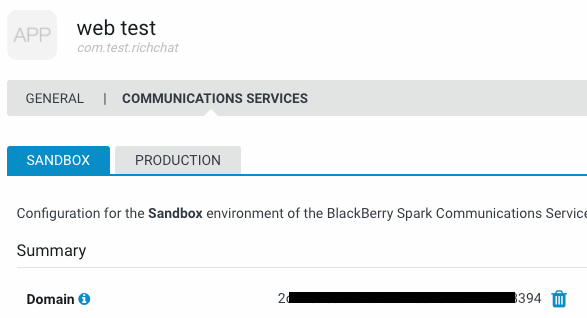
Paste your domain into this file:
/examples/RichChat/js/config_mock.js
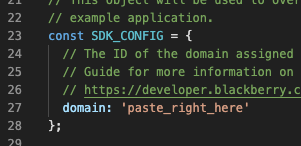
Make sure not to leave any trailing or leading spaces in this value
7. Running your project
Change your directory such that you are at the top level of the project. i.e. /

There are numerous ways you can effectively run a local web server to test RichChat. For example:
php -S localhost:8000
or,
python -m SimpleHTTPServer 8000
and countless others.
I will leave this choice to you, however, for this RichChat example you MUST run the local server from the aforementioned directory to ensure that the local server is scoped to access both /examples and /sdk. If you do not, then your webserver will throw loads of 404s because the RichChat example will be trying to access files outside of the webserver’s scope.


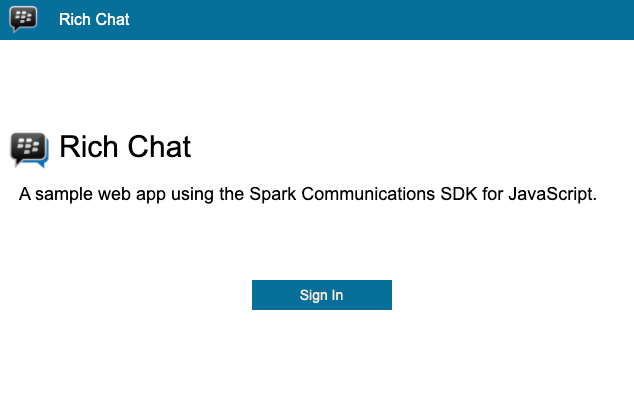
You have the sample running, now what do you do?
- You can read here on how to integrate the Web SDK into your existing web application.
- If you would like to try more examples go here.
- If you want to setup RichChat to use Google Sign In and Google People – Go here.
- If you want to setup RichChat to use Azure Active Directory – Go here.
- If you want to dive into the documentation – Go here.
- If you have some questions about domains - go here
- If you want to learn about the “Support Library” that RichChat uses – Go here
