Integrating Maps into Your BlackBerry 10 Android App
A common obstacle that Android developers may run into is integrating Google Maps into their Android application for BlackBerry 10. The Android Runtime does not currently support the Google Maps V2 APIs. This is mostly due to the Google Cloud Messaging and Google Play Services dependencies which are not supported in the Android Runtime.
Fortunately, there are a number of simple workarounds for various use cases.
Invoke the BlackBerry Maps Application
The simplest solution is to start the BlackBerry Maps application from within your Android application. To invoke the native Maps app and view a map centered at Toronto, Ontario (With longitude, latitude as parameters in the URI), use the following code:
Also, don’t forget to add the Internet permission by adding the following line to the manifest file.
Use a WebView to display a Static image in Google Maps
If you don’t require an interactive map, and would prefer to use a static map within the app instead, the best option is to utilize Google’s Static Map API to display a snapshot of a specific location.
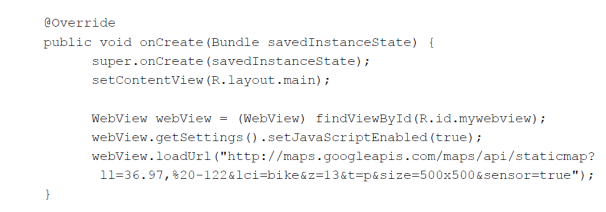
First, create a WebView object in the layout. Then, in the activity, load the Google Maps Static image in the WebView with the following code:
Note that this is not an interactive map, but just a snapshot image from Google Maps.
See the official Static Maps documentation for more information on how to customize the maps URL and how to integrate pins, multiple locations, sizes and scaling and other options for the map.
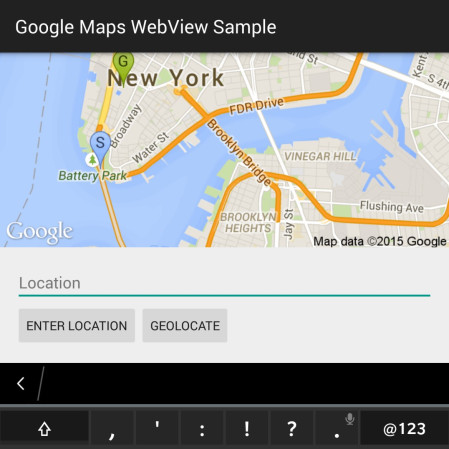
You can find a sample application that utilizes this approach here.
Use OpenStreetMap for an Integrated and Interactive Mapping Experience
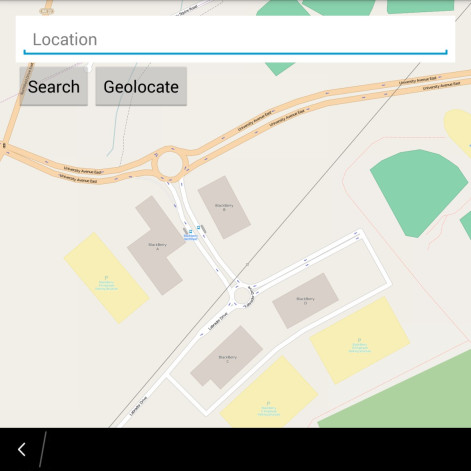
Finally, if you want to have an interactive map within your app, you can import and utilize the OpenStreetMap library which features a wide range of APIs and options comparable to Google Maps V2.
Begin by downloading, importing and compiling the OpenStreetMap Library into your project.
Add the following permissions to your manifest file:
Create an OSMdroid MapView (Not Google MapView!) object into your layout:
In the activity with the MapView, import the following:
Finally, Use the following code to configure and load a location in the MapView:
To take advantage of additional powerful OpenStreetMap APIs including markers, navigation, integrated geocoding and more, you can also download and import the OSMBonusPack.
You can find a sample application that utilizes this approach here.
Geocoding
In the previous examples (except the Google Maps WebView), we were required to input specific longitude and latitude coordinates in order to view a location. This can be simplified with a few extra lines of code with some basic geocoding by using the GeoCoder class in Android to obtain coordinates for general search queries.
The addresses list will now contain the top address results for searching “Toronto, Ontario”. To load the top result’s coordinates in an OpenStreetMap MapView, use the following code:
Geolocation
Finally, in order to use the GPS to locate the device, some additional work needs to be done. Integrating geolocation is fairly straightforward when utilizing the LocationManager class.
First, include the following permission in the manifest so you can use the device’s GPS.
Next, obtain a reference to the device’s LocationManager.
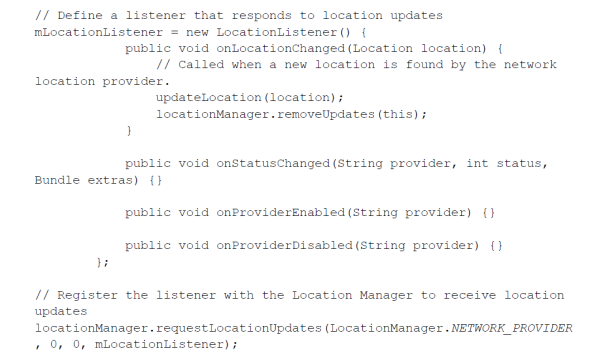
Create a LocationListener to poll for location updates. Ideally, this code should be placed inside a click listener for a Button, so the user can geolocate on demand.
In the UpdateLocation method above, extract the coordinates from the Location object and update the location of the Map depending on which Mapping implementation you used. For example, for OpenStreetMap, you can use the following method:
For more information on Mapping Support in the Android Runtime for BlackBerry, visit the Mapping Support page.
 Written by: Andrew Frolkin


