Written By: Mark Sohm & Ed Bourne
These steps are only applicable to Android 5.x. If activating on Android 6.x, refer to the new blog post Activating Work Only (COBO) Android for Work on Android 6.x
One of the new features of BlackBerry Enterprise Service 12.3 (BES12.3) is the ability to activate with work only on an Android for Work (AfW) device. This is also known as a COBO or corporate owned, business only device.
Since the steps for activating this are bit different from the usual process, here is a primer. For this setup, we are using BES12.3, and a fresh BlackBerry PRIV, running Android 5.1.1.
Before you try these steps, there are some prerequisites that must be in place. First, you’ll need to configure a Google domain on your BES. The user activating must also have a Google account on this domain that they’ll use for activation. A public Gmail account won’t work for this process. Once you have that set up you’re ready to continue.
Step 1. Create a Workspace Only Activation Profile
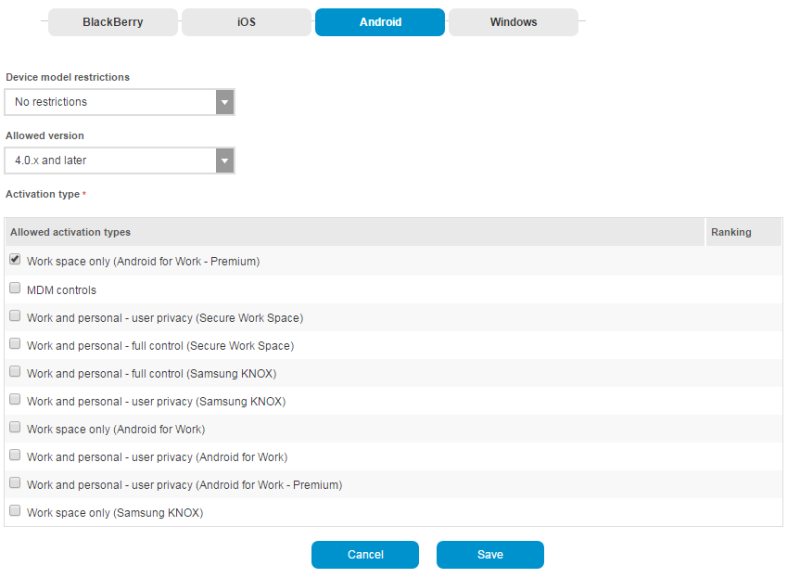
Make sure your activation profile is setup for Work Only. Open up the BES admin console, select Policies and Profiles, click on Activation profile and create a new one. We called ours “Work Only”.
Under the Android tab, there are 2 choices here:
“Work space only (Android for Work)”
“Work space only (Android for Work – Premium)”
The difference is that “Premium” requires a Gold license and allows the use of BlackBerry Secure Connect Plus (BSCP). The non-premium option requires only a Silver license. If you choose the non-premium, you will not get a BSCP connection, which means you will need to use some other mechanism for “behind the firewall” access for email and applications (such as a VPN).
Here is what setting up the activation profile looks like in the BES admin console.
Step 2. Send Activation Emails to the User
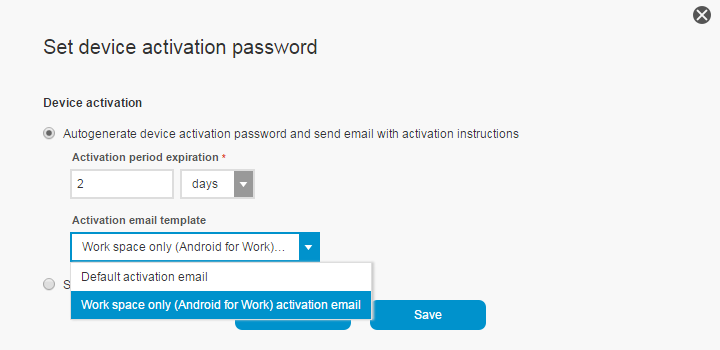
This step is a bit different than a normal activation for both the BES admin and the user. When setting an activation password for the user, the BES admin needs to change the activation email template from the default to “Works space only (Android for Work) activation email”, as shown in the screenshot below.
The user will get an additional email with a Google activation code when the BES activation password is set, even if they created the BES activation password. One message will be the familiar BES activation email, the second will have a Google activation code that is randomly generated. Both are needed when activating the AfW device.
Step 3 Activate your Android for Work Device
To activate as a work only device you’ll need one that has been factory reset or is fresh out of the box. When a device is in this state the first thing you see is the device setup wizard, like the screenshot below. If you don’t’ see that, then your device has likely already been activated. In that case, perform a factory reset by going into the Settings, Backup and Reset, Factory rest. WARNING reset means reset, everything will be erased! If the Google domain account is different than the Google account currently configured on the device, you’ll need to sign out before doing a factory reset. To do that go to Settings, Users, select You and then choose Delete from the menu. If you don’t sign out you’ll need to sign back in using the same account after the device has been wiped. This is part of Android’s anti-theft feature.
Once that is complete and the PRIV has restarted, you’ll be at the first screen of the setup wizard.
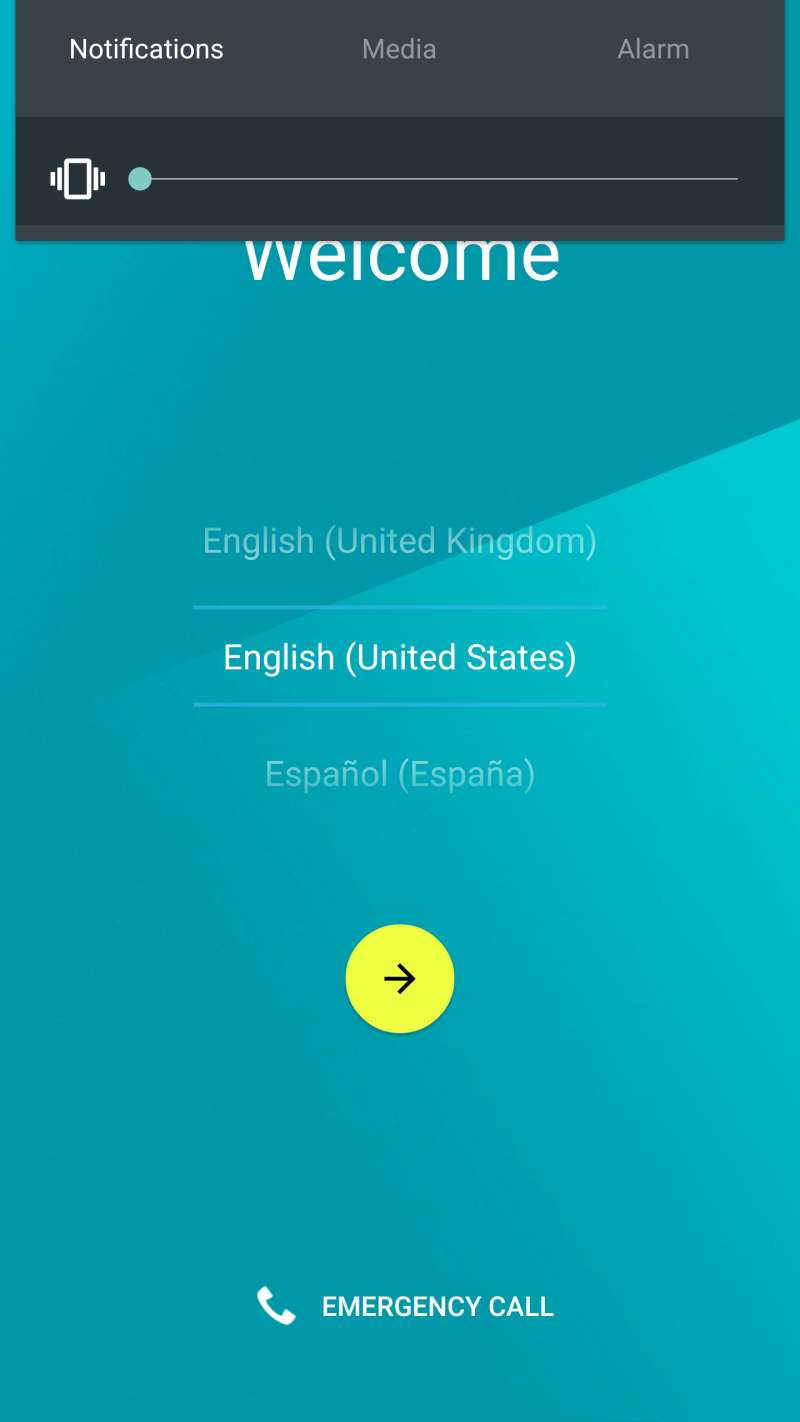
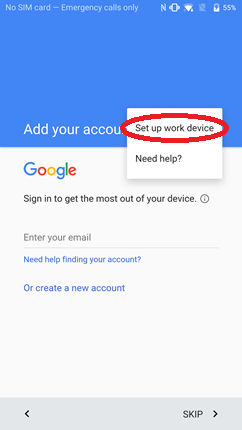
Continue through the setup wizard, setting up WiFi, sim card, etc… until you get to the sign in page as shown below. Don’t use the standard sign in option, instead pick “Set up work device” from the menu.
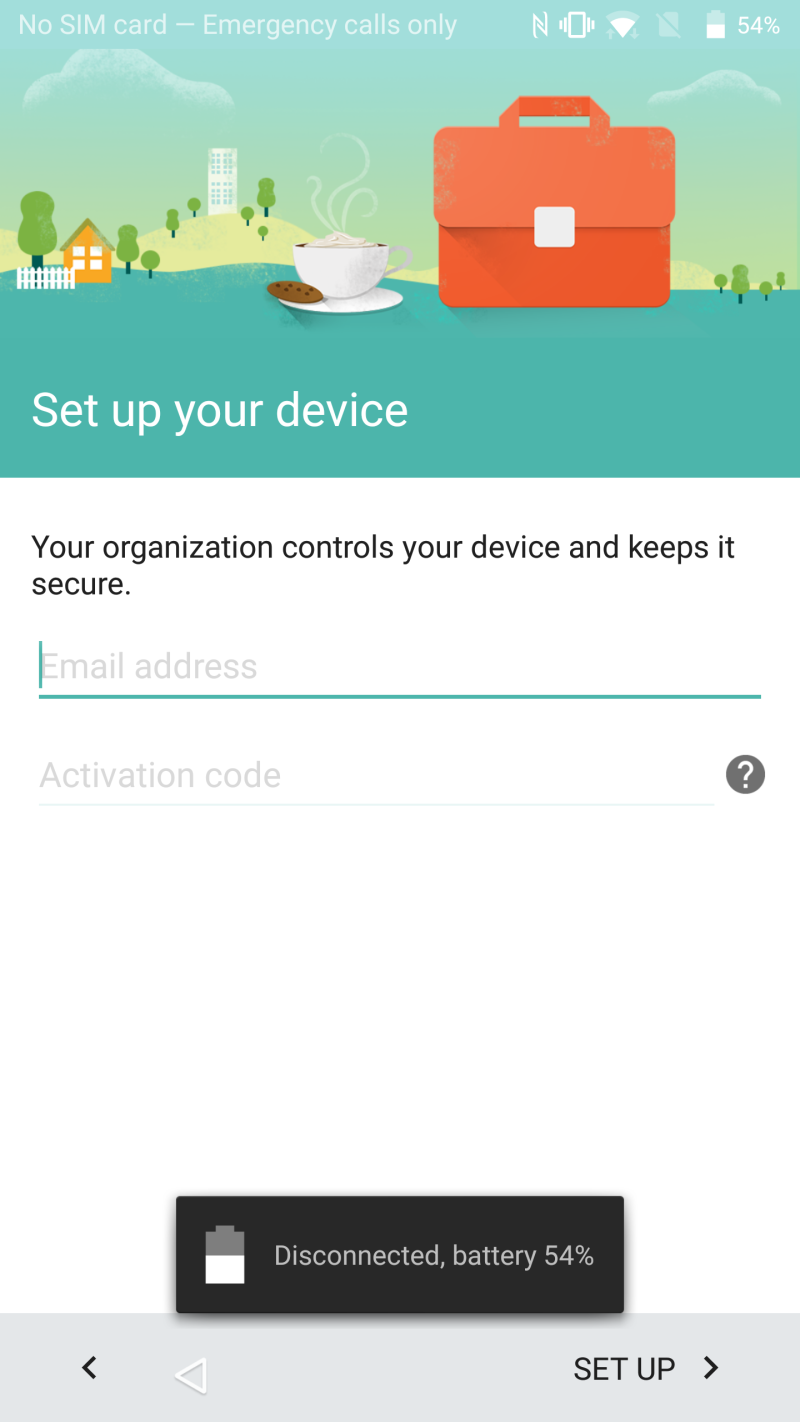
Now you’ll be prompted for an email address and activation code. Enter the email address for your Google domain account (not public Gmail account) and Google activation code that was sent in an email from the BES.
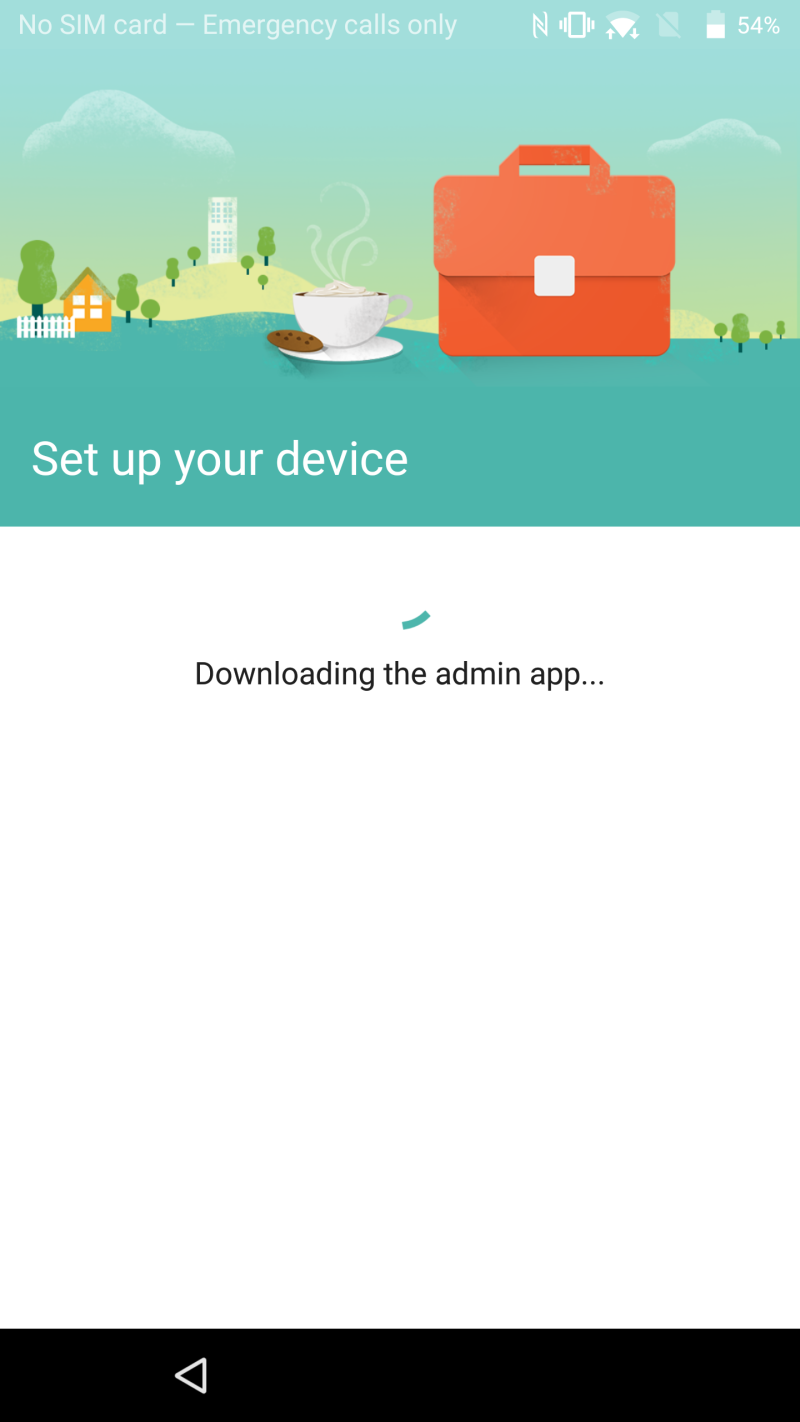
After a successful login, the device will download, install and run the BES12 Client from Google Play.
The BES12 client will prompt you for your email address (use the same address as the previous step) and BES activation password. This activation password was also sent via email from the BES, but is different than the Google activation code from the previous step. You get each from a separate email message.
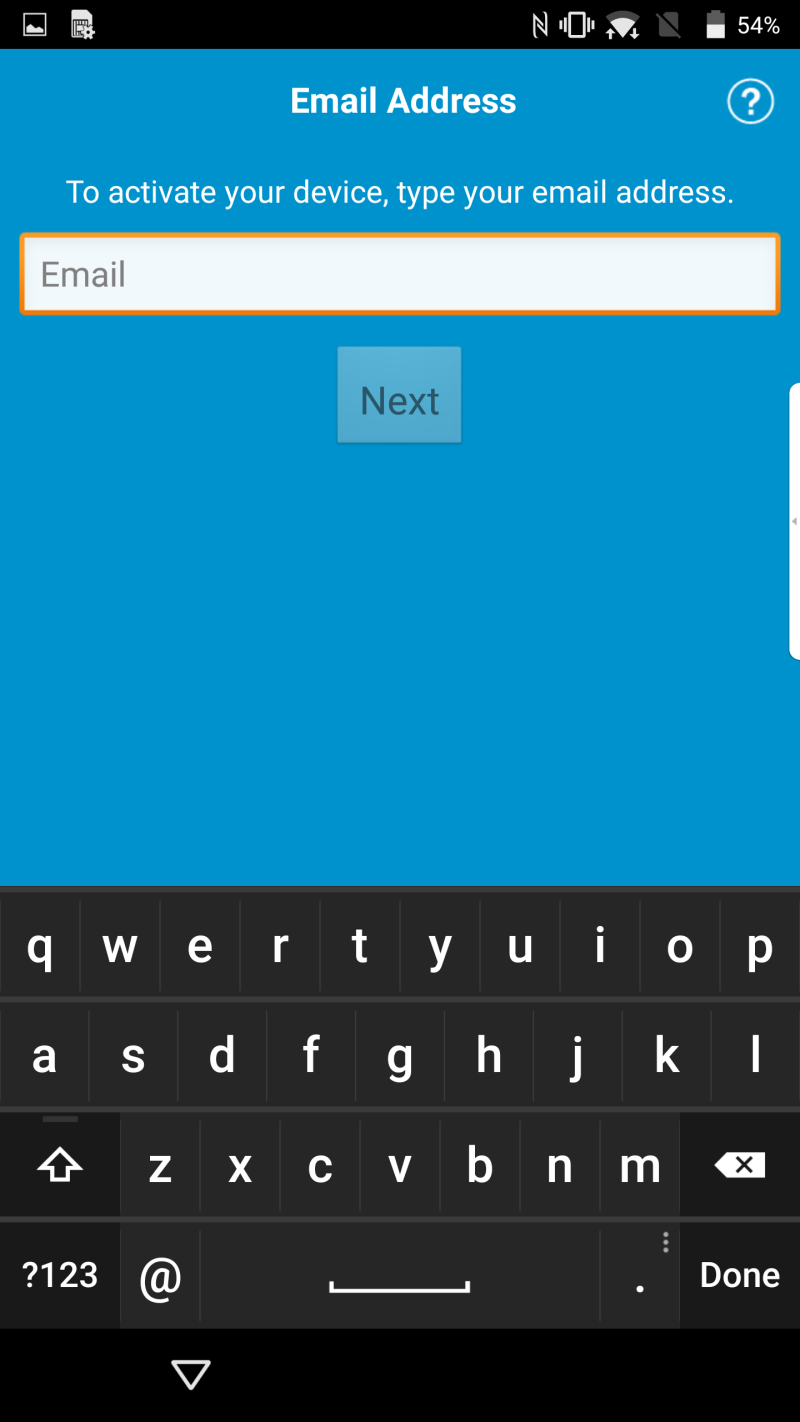
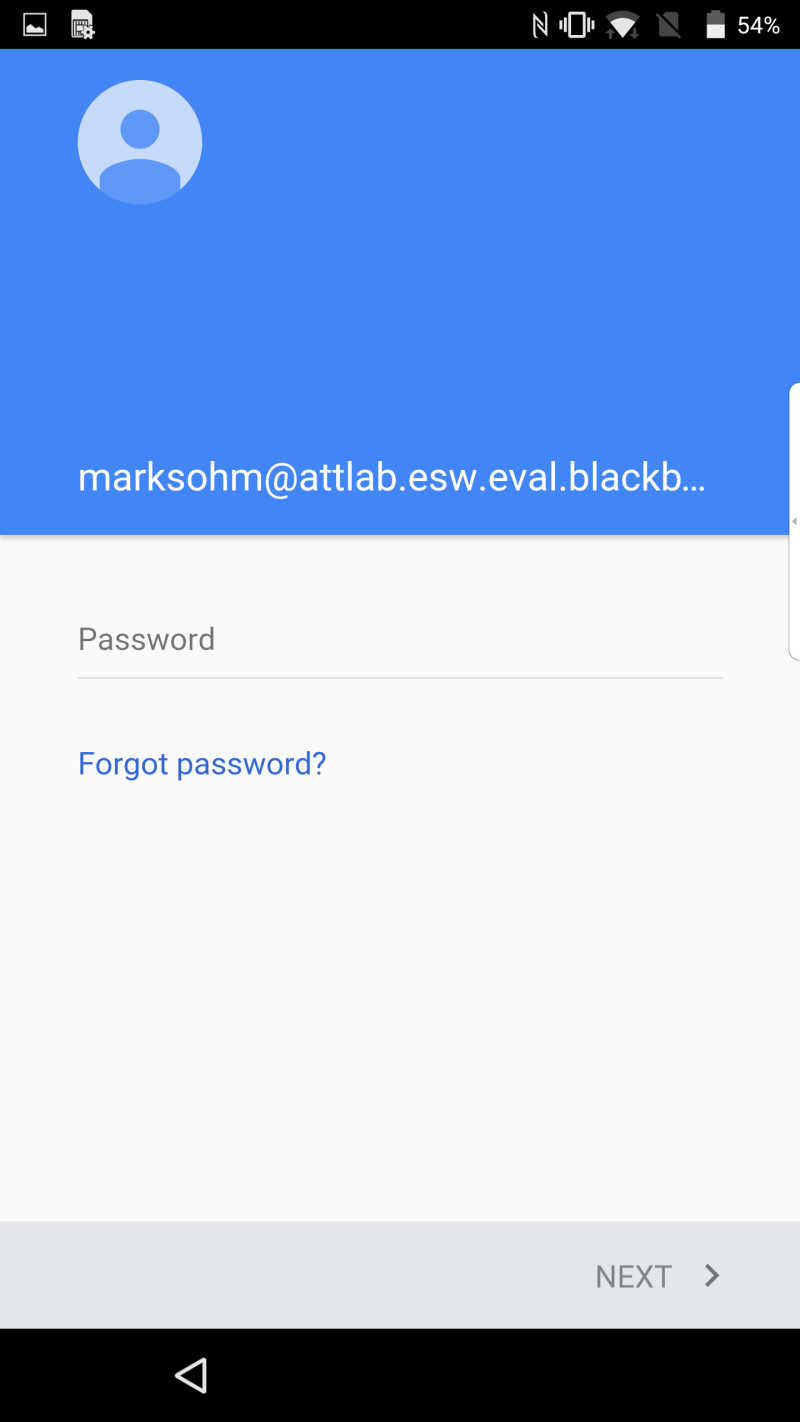
After the BES12 Client has completed its activation process you are prompted for one more password. This is the password for your Google domain account. Enter that in the screen shown below.
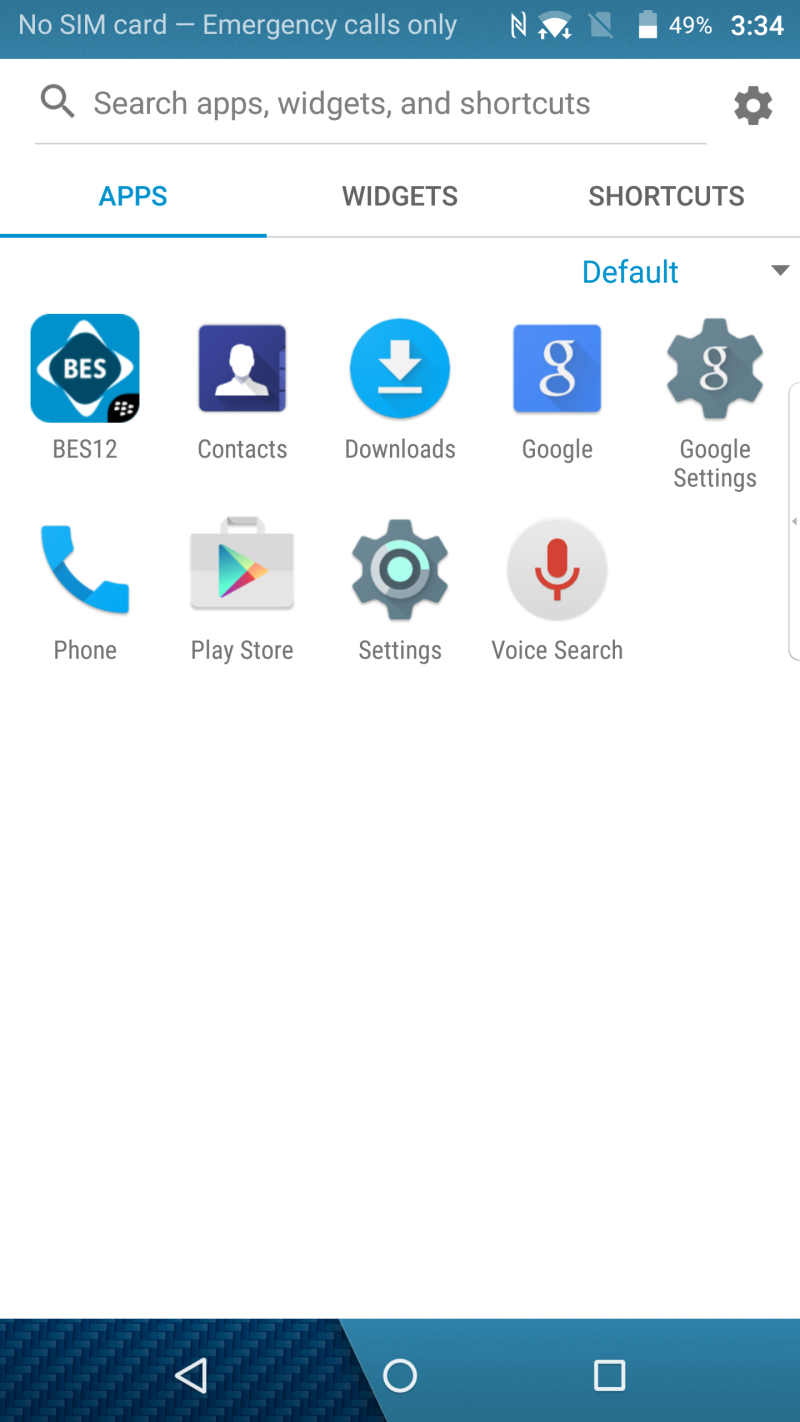
At this point activation is complete. Open up the application grid and you’ll see a much smaller list of applications compared to what is typically available on a PRIV that has a personal profile. The BES administrator has control over the applications that are available to you. Any application in Google Play, including the BlackBerry Camera, Hub and PIM applications found on PRIV can be whitelisted for use in this work only mode. You can also deploy private, internally developed applications that are only available to your Google domain. The BES admin has complete control over the applications you’re able to use.
